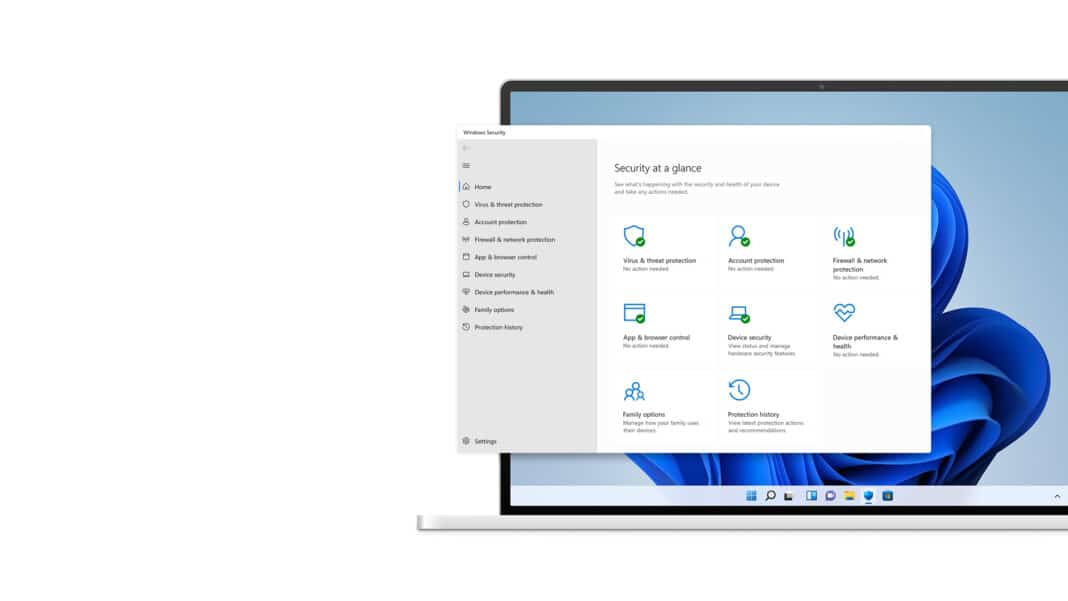
Windows users all around the globe are reporting a new error in Windows 10 or 11. After a pending update, the window defender component starts to grey out, making it impossible for users to access. There seems to be a handful of fixes in the wild that can possibly fix the problem.
What’s This Error
One of the first possibilities to consider for such a problem is the corruption of system files. SFC & DISM scans or Repair Install is the fixes in this case. Besides that, interference from a third-party software, such as antivirus or McAfee, can also cause these problems since they interact with the computer at a deeper level. Besides that, many reported missing security infrastructure from Windows installation as a core reason for Windows Defender issues.
So, with all that in mind, let’s not take a moment any further and head into the thick of the issue by applying different fixes to counter the error.
Fix #1: Clean Boot Your System
If Windows Defender is shutting down due to a 3rd party interference (an AntiVirus Suite), just clean boot your system.
This procedure will be the best line of action to counter the danger of you leaving your PC vulnerable to malware and viruses because it forces the system to run only the necessary services, leaving out every other 3rd party software from disturbing the system.
- First of all, open the Run Program by pressing Win + R keys.
- Type in ‘msconfig’ and hit Enter.
- A window will appear.
- Locate the Services Tab.
- Check the Hide All Microsoft Services checkbox and click on Disable All.
- After that, click on Apply.
- Once you press OK, it will ask you to restart your PC. Don’t restart it yet.
- Go back and launch the Run Program again.
- Type in ‘msconfig’ and hit Enter.
- Select Start Up, and open the Task Manager.
- Disable all the High Impacts at the bottom of the window.
Once done, close all the tabs, restart your PC and see if the problem is resolved or not.
Fix #2: Run a Safety Scanner (Microsoft)
This issue can be fixed by simply downloading Microsoft Safety Scanner from its original website and having a run at it. It will usually take about 10 to 15 hours if you have an HDD. An SSD will result in faster completion.
Follow the steps below to run the Safety Scanner:
- Download the Safety Scanner from their website according to the bit version of your system.
- Launch the scanner and wait for the installation to complete, after which you’ll need to enable and confirm UAC.
- This will allow changes to be made to your PC.
- Click on the Full Computer Scan option and move to the next page by clicking Next.
- After that, scanning would initiate. If any malware is detected, the software will remove it.
Once done, check your Windows Defender to confirm that the error no longer exists.
Fix #3: Update Windows
Another method of fixing the issue is by updating Windows and installing every pending update, which will keep the system up to date.
Follow the steps below to update your Windows:
- Press the Win + R keys to launch the Run Program. Type in “ms-settings: windowsupdate” and hit Enter to launch the Windows Update settings.
- A UAC permission window will appear. Select Yes to provide admin access.
- Select Install Now to begin the installation.
After completion, restart your computer to see whether the issue is resolved or not.
Tip: If you’re having trouble with Windows updates, registry errors, drivers, and activation, we recommend using Restoro. This software will scan and fix your problem automatically, so you won’t have to keep guessing the source of the problem.
Fix #4: Enabling the Windows Defender Forcefully
In the slight chance of no other fixes working out, try to enable the Windows Defender by force by using the Command Prompt in administrative mode.
- Press the Win + R keys to launch the Run Program.Type in cmd, and press Ctrl+Shift+Enter to launch CMD with admin access.
- Type the following command in the CMD Window:
REG DELETE “HKLM\SOFTWARE\Policies\MicrREG DELETE “HKLM\SOFTWARE\Policies\Microsoft\Windows Defender” /v DisableAntiSpyware
Once the process is complete, reboot your PC to see if the issue is resolved or not, and if it isn’t, then we’ve got a final trick up our sleeves.
Fix 5: Repair Install or Clean Install
If none of the other fixes worked for you, then you should definitely go for this one. The only reason for your greyed-out windows is corrupted system files. It may be that the files that are of the utmost importance to Windows Defender are damaged, and you need to completely remove and replace them. A Clean Install wipes out all your data, documents, photos, and personal files. So, make sure to create a backup before you perform this install. A Repair Install does not remove your personal data, but it takes longer to perform compared to a Clean Install. Make sure to perform an in-place repair install rather than the former.
With all that, we hope your Greyed Out Windows Defender problem is resolved. If one of the methods doesn’t work, you should feel free to apply all of them one by one by giving proper attention to every step. If you have some other fixes for our readers, leave them in the comments below.

