Categories
Bayonetta 3

Bayonetta 3 Echoes Of Memory Locations Guide

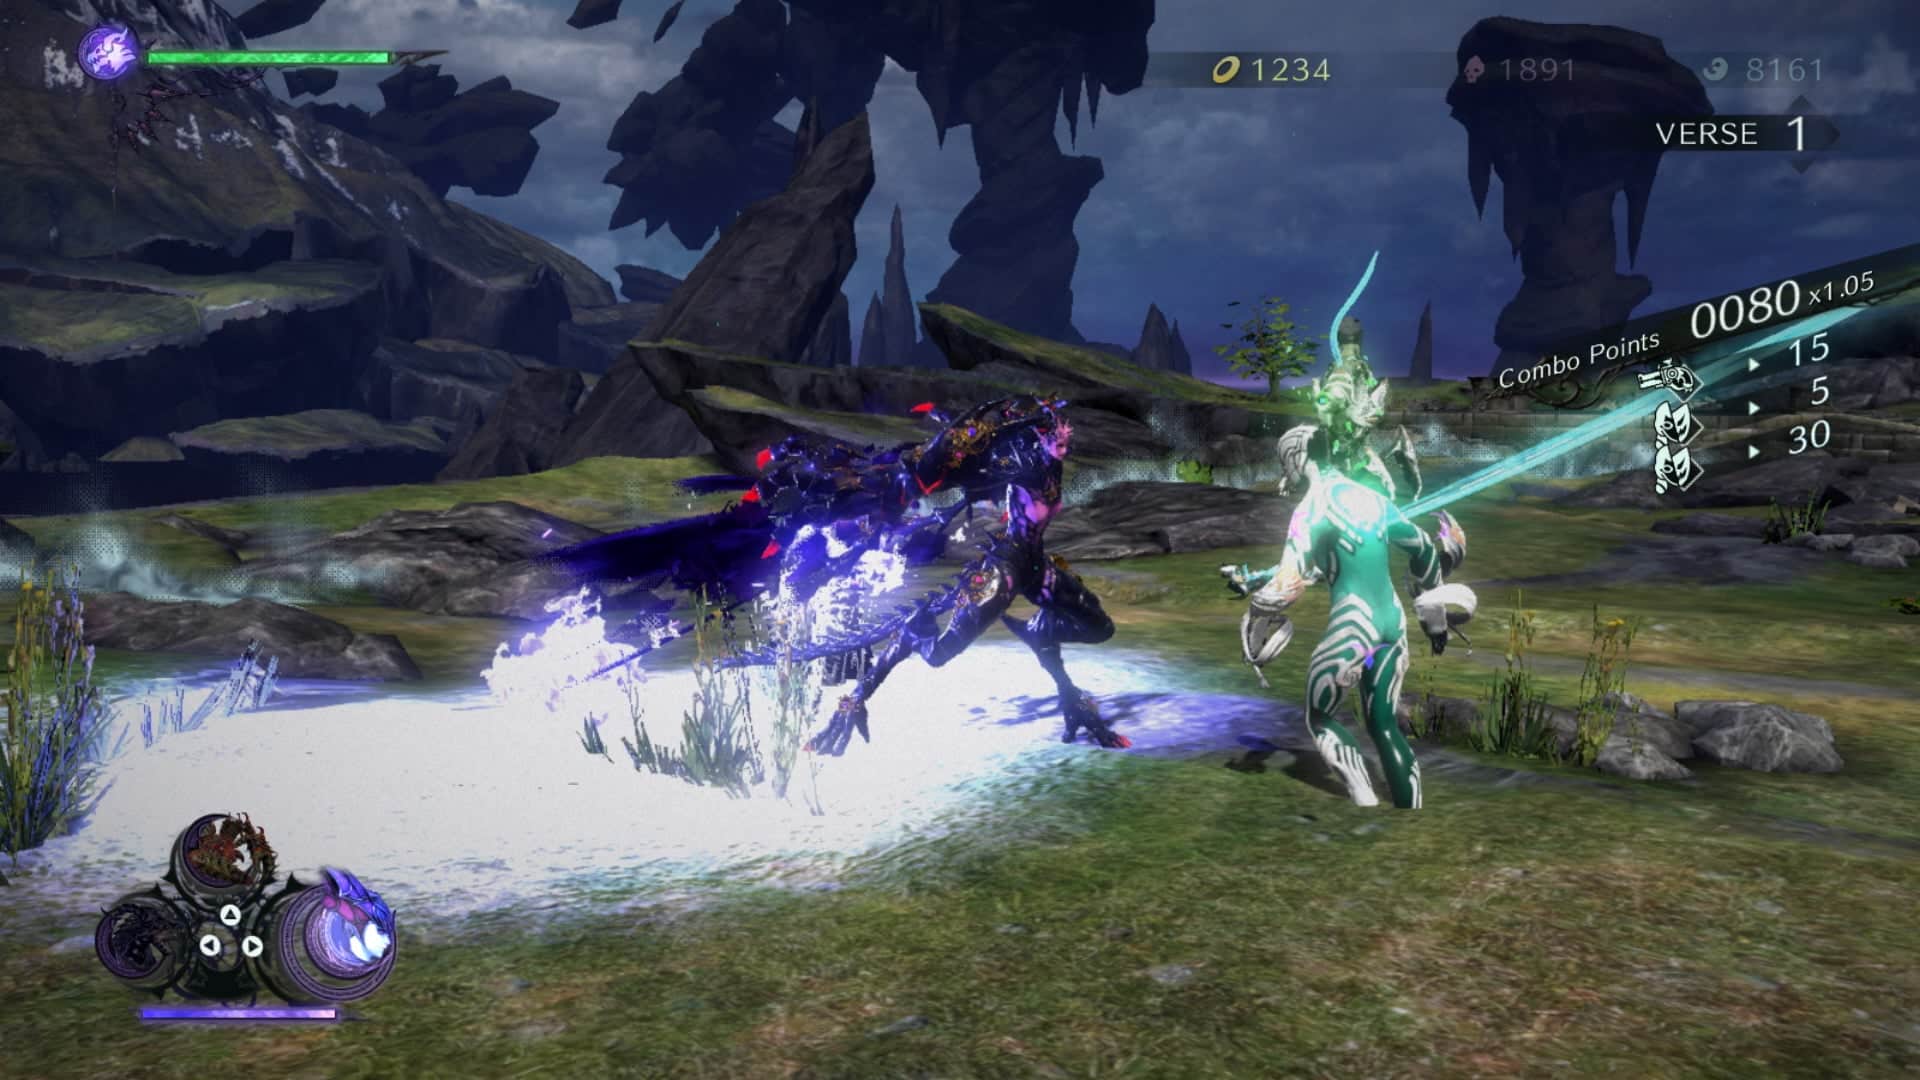
Echoes of Memory are miniature black books that you need to collect to unlock the lore in Bayonetta 3. These collectibles don’t require side quests or challenges, so you go to their location and collect them. In this guide, I’ll tell Echoes Of Memory Locations in Bayonetta 3 Echoes so you can easily find them.

All Bayonetta 3 Echoes Of Memory Locations

Echoes of Memory are special black books you have to collect if you want to access the lore in Bayonetta 3. You don’t need to do any side quests or other challenges- go to their location and grab them. In this guide, I will list all the Echoes Of Memory Locations in Bayonetta 3, so you can easily find them all.

Chapter 1 – Scrambling for Answers

Echoes of Memory Location #1: Finish Verse #2, Go to the small tower with the cracked wall and destroy it to get inside. You will find Echoes of Memory waiting for you.

Echoes of Memory #2: Although the Echoes of Memory is located on the upper floor, no stairs are available. Your best bet is to stop time and fast-forward so that a building will lapse and fall, creating a staircase you can climb to reach the Echoes of Memory.

Echoes of Memory #3: When you’re in the tunnel at Shibuya, go to the left side and find the third Echoes of Memory.

Chapter 3 – A Sinking Feeling

Echoes of Memory Location #4: To find Echoes of Memory, you must go to the same location where Umbran Crow is kept.

Echoes of Memory #5: By winding back time, you can rebuild the half-bridge to go through and retrieve Echoes of Memory.

Side Quest 1 – The Crimson Shadow

Echoes of Memory #6: You can find Echoes of Memory at the bottom of the submerged building during the side quest “The Crimson Shadow.”

Chapter 4 – World’s Apart

Echoes of Memory #7: On the cliffside near Treasure Chest #2, there is a tree on which you can get Echoes of Memory.

Echoes of Memory #8: Upon arriving at the next wooden platform, you will notice an opening in the center of the area. Inside this space lies the Echoes of Memory.

Echoes of Memory #9: After you reach the top of the Central Promenade, open the Automation Orb to reveal moving platforms. Once you get to the end of the platforming section, you will earn the Echoes of Memory.

Echoes of Memory #10: Go to the Gates of Hell portal, and you’ll find a sealed door. You need to open it and go inside to get Echoes of Memory in the center.

Side Quest 2 – The Lynx Strikes

Echoes of Memory #11: During the second side quest, you can travel to the bottom level and find two yellow platforms with Echoes of Memory.

Chapter 7 – Burning Sands

Echoes of Memory #12: At the start of Chapter 7, there is a mountain with a platform on which you can find the Echoes of Memory.

Echoes of Memory #13: After opening Treasure Chest #10 in Chapter 7, you find an orb. Collect it to reveal platforms that will take you upside, and you can get the Echoes of Memory.

Chapter 8 – A Croaking Chorus

Echoes of Memory #14: Open treasure chest #1 to reveal an orb. Platforms will open that you can climb, and at the top, find the Echoes of Memory.

Echoes of Memory #15: The “Temple of Baal” is located inside the quicksand tunnels. The Echoes of Memory are located near the broken stairs inside the temple.

Chapter 9 – Learning to Fly

Echoes of Memory #16: You will find the Echoes of Memory at the starting point of Chapter 9, in an open area near a waterfall with plenty of frogs.

Echoes of Memory #17: Within the Windmill Temple in Chapter 9, if you go to the room with cracks in the flooring and investigate underneath, you will stumble across the Echoes of Memory.

Echoes of Memory #18: Head to the room where you find the Gates of Hell in the building. In that right room, you will locate the Echoes of Memory.

Chapter 10 – Cover of Night

Echoes of Memory #19: To reach the mountain’s summit, climb the mobile platforms. You’ll find a tower at the top with a more moving platform which you can scale by crashing into its side. Once inside, another platform can transport you to the very top, where you will retrieve Echoes of Memory.

Echoes of Memory #20: The Echoes of Memory are found in the same place as the crow near Treasure Chest #3.

Echoes of Memory #21: The Echoes of Memory can be found at an open subway stairwell on the main Parisian Strip.

Chapter 11 – A Familiar Dance

Echoes of Memory #22: You will find an orb inside Treasure Chest #3 in Chapter 11. By following the directions given by the orb, you can get Echoes of Memory.

That’s the complete list of Echoes of Memories in Bayonetta 3. Need more help? Here are some more guides you might find helpful:

Categories
Victoria 3

How To Get Oil In Victoria 3: Import, Export, Oil by Country

Oil is a very important resource, as it is necessary to produce various items in Victoria 3. Knowing where your country’s oil is coming from is crucial, as different countries have varying amounts. To make things more convenient for you, this guide will tell you where you can import and export oil in Victoria 3.

Where To Find Oil In Victoria 3

Location Country Amount of Oil
1 Alberta 50
2 Azerbaijan 60
3 Basra 60
4 California 60
5 Kuban 30
6 La Paz 30
7 Libyan Desert 30
8 Mosul 50
9 Nenetsia 30
10 Oklahoma 20
11 Ontario 40
12 Pennsylvania 36
13 East Borneo 60
14 East Java 20
15 Elbe 30
16 Fars 60
17 Friesland 30
18 Hanover 30
19 Chubu 30
20 Kansas 20
21 Río Grande 50
22 Samara 30
23 Santa Cruz 30
24 Saratov 60
25 Shanxi 30
26 Texas 50
27 Trucial Coast 40
28 Uralsk 60
29 Wallachia 60
30 West Galícia 36
31 Zulia 60

How to Get Oil in Victoria 3

Now you know where to find the oil, and what’s next? How do you obtain oil? Let’s answer these questions.

  • Whaling Stations: The most basic way to get oil is to construct a whaling station. Even though these stations only provide a limited amount of oil, they have 20%-30% worker mortality rates. Consequently, you will need to spend money on employee rehabilitation or face the risk of an uprising.
  • Oil Rigs: Although oil rigs are more efficient than whaling stations, their building costs, unfortunately, make them unattainable: pumpjacks technology with 60 oil per level, 5x engines, and 10x coal. If we could build these rigs, the process would be automated.

Which Factors To Consider While Checking The Oil in Victoria 3

There are two factors to consider when checking your oil in Victoria 3:

A Country Without Oil

If your country does not have oil, go to the Trade Lens menu> Import Trade Routes tab. You will find a tooltip with more detailed information about available resources and regions in the game.

A Country with Oil

If you’re already in a country that produces oil, find “Market” and click on it. Then, press the two cogs (tab) buttons to open “Industrial Goods.” At this point, locate the “Grey Canister,” which is how you’ll gain access to the oil. Clicking on this button will provide all details about the oil, including its production unit location. Follow the green color spots as they’ll guide you straight to where the unit is located.

The “Price Display” button filters things, for example, tracking the progress of raw materials from their original spot to production and consumption. To learn more about the import/export router, press the button at the bottom menu.

Categories
Bayonetta 3

Bayonetta 3 Medallion Shard Locations Guide

Medallion Shards are important collectibles in Bayonetta 3 that, once all are collected, craft Blue Medallion to reveal the Golem boss on the map. There are four pieces of Medallion Shard spread out across different chapters. In this guide, I’ll tell you where to find all the pieces of Medallion Shard in Bayonetta 3.

Medallion Shard Locations

Medallion Shard #1 – Chapter 1

You can find the first piece of Medallion Shard at the beginning of Chapter 1. Just follow these easy steps: finish Verse #1, take the right path to reach the mountain, walk until you are at the edge of the island, use stairs to climb up, and find a glowing relic. Smash the relic, and the first piece of the Medallion Shard will be yours.

Medallion Shard #2 – Chapter 4

You can find the second piece of Medallion Shard at the beginning of Chapter 4. Just follow these easy steps: go to the blue gate, finish, walk until you reach the broken bridge, jump over the island, take a right turn, and find a glowing relic. Smash the relic, and the second piece of the Medallion Shard will be yours.

Medallion Shard #3 – Chapter 7

You can find the third piece of Medallion Shard at the beginning of Chapter 7. Just follow these easy steps: locate the round portal near the waterfall, continue onward until you reach the locked door, and explore your surroundings for a glowing relic outside. Smash the relic, and the third piece of the Medallion Shard will be yours.

Medallion Shard #4 – Chapter 10

You can find the fourth and final piece of Medallion Shard at the beginning of Chapter 10. Just follow these easy steps: Reach the broken tower, break the entrance with a weapon and find a glowing relic. Smash the relic, and the fourth piece of the Medallion Shard will be yours.

That’s everything you need to know, but if you require more help, here are some more Bayonetta 3 guides you may find helpful:

Categories
Tweaks and Fixes

How to Fix Modern Warfare 2 Error 0x0000005 in Windows 10 and 11?

Modern Warfare 2 was released with great reception from players. Unfortunately, some users have problems with Modern Warfare 2, and one of the most common errors is the error 0x0000005. If you’re getting this error, don’t worry – you’re not alone. This article will show you how to fix the 0x0000005 error in Call of Duty: Modern Warfare 2 on Windows 10 and 11.

Fix #1 – Scan and Repair

If you’re getting the 0x0000005 error in Modern Warfare 2, it’s probably because your game is corrupt. Luckily, there’s an easy way to fix that. Just run a repair scan, and the problem should be fixed.

Open the Battle.net app > select “Modern Warfare 2” > click on the gear icon next to “Modern Warfare 2” and select Scan and Repair. Wait for the repair process to finish, and then try launching “Modern Warfare 2” again.

Fix #2 – Update Your Drivers:

Outdated or corrupted drivers can also cause the 0x0000005 error in Modern Warfare 2. So, if the repair scan didn’t work, updating your drivers is a good next step. There are two ways to update your drivers: manually and automatically.

Updating drivers manually is time-consuming and requires some technical knowledge. Visit the website of your GPU manufacturer. Download the latest driver for your GPU model.

Double-click on the downloaded file and follow the instructions to install the driver. Restart your computer and try launching “Modern Warfare 2” again.

Update Drivers

Tip: If you’re having driver issues, we recommend DriverFix to scan and update all your outdated drivers in just one click. DriverFix solves your issues faster; it is easy to use and lets you know whenever a driver update is available. Download updates from popular brands, 100% malware and virus free. 

Fix #3 GeForce Experience’s Optimization

If you’re using an NVIDIA GPU, another way to update your drivers is GeForce Experience or use optimized settings. GeForce Experience is a free online available program you can easily download.

  1. Go To NVIDIA System Tray By clicking on it. 
  2. Choose the GeForce Experience Option
  3. Select Modern Warfare 2
  4. Select Optimzie, and it’ll change the settings depending on your PC

Launch MW2, and the error 0x0000005 will be fixed.

Fix #4 Renaming Warfare Folder

If you’ve tried all of the solutions above and you’re still getting the 0x0000005 error, there’s one last thing you can try. Some users have reported that renaming their “Warfare” folder fixed the 0x0000005 error for them.

  1. Go to your “Call of Duty: Modern Warfare 2” installation folder.
  2. Rename the “Warfare” folder to something else (for example, “Warfare2”).
  3. Launch “Modern Warfare 2” again and see if the error is fixed.

Fix #5 Disabling On-Demand Texture:

This solution has helped some users fix the 0x0000005 error in “Call of Duty: Modern Warfare 2”.

  1. Run the Game and Go To “Game settings.”
  2. Go To “Graphics Tab.”
  3. Disable “On-demand Texture Streaming”
  4. Restart the Game.

Fix #6 Disable NVIDIA Highlights:

If you’re using an NVIDIA GPU, try disabling NVIDIA Highlights. Some users have reported that this fixed the 0x0000005 error in Call of Duty: Modern Warfare 2 for them.

  1. Open the NVIDIA GeForce Experience.
  2. Click on the “Games” tab and find “Modern Warfare 2” in the list of games.
  3. Click on the “Game Setting.”
  4. Find “Highlights” in the list of options and set Capture to “Off.”
  5. Restart your computer and try launching “Modern Warfare 2” again.

Fix #7 Reinstalling Battle.net Client:

If you’re still getting the 0x0000005 error, the last thing you can try is reinstalling the Battle.net client.

  1. Uninstall the Battle.net client from your computer.
  2. Download the latest version of the Battle.net client from the official website.
  3. Install the Battle.net client and launch “Modern Warfare 2” again.

Fix #8 Close ASUS GameFirst VI:

If you’re using an ASUS motherboard, there’s a chance that the ASUS GameFirst VI program causes the 0x0000005 error.

  1. Open The Task Manage
  2. Find the “Asus GameFirst VI” from the list.
  3. Right Click on it and End the Program
  4. From the “Startup tab,” you can disable it.
  5. Restart the Game.

Fix #9 Reinstall The “Call of Duty: Warfare 2”

If you’ve tried all of the solutions above and you’re still getting the 0x0000005 error, the last thing you can try is reinstalling “Modern Warfare 2”.

  1. Uninstall “Modern Warfare 2” from your computer.
  2. Download the latest version of “Modern Warfare 2” from the official website.
  3. Install “Modern Warfare 2” and launch it again.

That is all for our fixes for Modern Warfare 2 Error 0x0000005. If you are facing errors and issues with other PC games or your PC, then also see our hub for commonly occurring PC errors and their fixes.

Categories
Guides

How to Get Peridot in Disney Dreamlight Valley

If you’re a Disney’s Dreamlight Valley fan, you’re probably wondering how to get your hands on some peridot. Well, wonder no more! Here is a guide on how to get Peridot in Disney Dream light Valley.

Peridot is a gemstone found in the Disney Dreamlight Valley game. The game features many quests that need Peridot to get started, and It also allows you to deepen your friendship with other characters.

Each Peridot is worth 200 Star Coins, while the rarer Shiny Peridots go for 800 Star Coins from Goofy. Consequently, these gems can be sold for a nice profit if you’re lucky enough to find them!

The Peridot gems are not easy to find in Disney’s Dreamlight Valley. The only way to get these gems is by mining the rocks, but not just any rocks. Usually, there will be black rocks in between the Peaceful Meadows and Dazzle Beach that have gems near ridges. Therefore, don’t waste time; take your pickaxe and start mining as many rocks as possible. Since having more people will increase your chance of finding rare items, you should ask your friends to help you mine.

Need more help? Here are some more Disney Dreamlight Valley guides you might find helpful:

Thanks, Quick Tips

Categories
Call of Duty: Modern Warfare 2

Modern Warfare 2 Windows 10 Compatibility Issues Fix

If you’re a fan of the Call of Duty franchise, you’re probably looking forward to playing the latest installment, Modern Warfare 2. However, if you’re using Windows 10, you may wonder if the game is compatible. Unfortunately, there are some compatibility issues with Modern Warfare 2 and Windows 10. However, some workaround methods may help you get the game working on your system.

The fixes for Modern Warfare 2 compatibility issues are simple, but if the problem persists, there could be a deeper issue with either of your Windows files. In any case, there are things you can do to deal with whatever the root cause turns out to be.

How to Fix Modern Warfare 2 Windows 10 Compatibility Problem

Update Windows

One of the first things you should try is updating Windows to the latest version. Microsoft has released several updates for Windows 10 that may improve compatibility. But before you update windows, we recommend using Restoro to scan and repair any hidden registry or repository issues; otherwise, simply updating windows won’t help if there are corrupted files in your system.

  • To check for updates, open the Settings app.
  • Go to Update & Security > Windows Update.
  • Click the Check for updates button and install any available updates.

Try Turn-off Steam Compatibility Mode

If you’re using the Steam version of Modern Warfare 2, you may be able to fix compatibility issues by turning off Steam Compatibility Mode.

Tip: Using Restoro, you can scan and fix any hidden Windows 10 and 11 issues caused by corrupted files. It is a much faster way with better results. You can deal with compatibility and registry issues, replace and restore DLL files, and even protect your system from viral infections.

  • To do this, right-click on the game in your Steam library and select Properties.
  • Under the General tab, uncheck the box next to “Enable Steam Compatibility Mode” for this game.
  • Click OK to save your changes.
  • Now try launching the game again and see if it works.
Categories
Bayonetta 3

Bayonetta 3 All Figure Box Locations Guide

A figure box is a special type of item that can be found in Bayonetta 3. These boxes will unlock new art to view in the game’s gallery when collected. Each chapter has its own figure boxes. In this guide, I’ll tell you the location of the Bayonetta 3 All Figure Box Locations.

Bayonetta 3 Figure Box Locations

Chapter 1 Figure Box Locations

Location #1: The First Figure is located on the Western Coast. To find it, follow the ledge over the mountains to find the Figure Box on top.

Location #2: There is a Time puzzle box in the Shibuya Area, and if you look closely, you will find a Figure Box hiding in the corner.

Location #3:  You need to hitch a ride at the Curved Building in the stip area at Verse #7’s location to reach the top and get the third Figure box.

Chapter 2 Figure Box Locations

Location #4: Enter the broken train carriage on the tracks in chapter 2 to find the fourth Figure Box inside.

Location #5: The fifth Figure Box is on the banked side of Second Route – Verse #7 Highway.

Location #6: At the top of the twin towers is a treasure chest that you need to break open and take by following the map to find the sixth Figure Box.

Chapter 3 Figure Box Locations

Locations #7: You’ll find an abandoned building at the beginning of the chapter. Nearby, you’ll see the seventh Figure Box.

Location #8: Finish verse 5 and return to the starting point. The eight Figure Box will be there.

Location #9: Travel on top of the building at the start of the Verse #6 sections after completing it. In this section, you must dodge the trains emerging from the tunnel.

Additional Mission 1 – The Crimson Shadow

Location #10: Use a vent to avoid a twin laser and get your tenth Figure Box.

Location #11: The eleventh figure box can be found at the water-level exit of Crimson Shadows.

Chapter 4 Figure Box Locations

Location #12: At the end of Verse #1, you will find an archway on your left leading to a twelfth Figure Box at the edge of a mountain.

Location #13: Once you complete Verse #2, reach the Central Towers top and find the thirteenth Figure Box.

Location #14: Near the thirteenth Figure Box, in the courtyard area, you will find the fourteenth Figure Box.

Location #15: At the Toad location near a small lave in the Central Pomegrenade, you will find the fifteenth Figure Box.

Location #16: Access the building with the hole by completing Verse #7 and the Time Manipulation puzzle. Inside, you will find a floating platform above a broken floor. Halfway across, you will find the sixteenth Figure Box.

Chapter 5 Figure Box Locations

Location #17: You will find the seventeenth Figure Box by completing Verse #4 and then accessing the Umbran Cat sitting at the upper level. The cat will take you down to where you need to go.

Location #18: The Eighteenth Figure Box is located near the seventeenth box jump inside the wall, which will take you to the Courtyard.

Location #19: You will find the nineteenth Figure Box on the Right Side near some destroyed walls in the Courtyard.

Location #20: Make a swing near the nineteenth Figure Box to find the twenty Figure Box.

Location #21: At the beginning of Verse #6, you will find the twenty-one Figure Box.

Location #22: Find the bridge after you finish Verse #7. Underneath it, there will be twenty-second Figure Boxes.

Location #23: Complete Verse #9 to get your twenty-third Figure Box underneath the wooden platform.

Chapter 6 Figure Box Locations

Location #24: Complete Verse #1 and reach the main Courtyard to find the twenty-fourth Figure Box.

Location #25: Complete Verse #2 and reach the starting point of Chapter 6 to find the twenty-fifth Figure Box.

Location #26: Complete Verse #3 and build a bridge to reach the other side and get the twenty-sixth Figure. Again, the Gomorrah will help you out with this task.

Location #27: Near the twenty-sixth box, you will find the twenty-seventh Figure Box.

Location #28: Enable Phantasmaraneae mode before going after the twenty-eighth Figure Box. The box is floating over the lava in the middle of the bridge.

Location #29: Once you finish the Verse #8 battle and reach the arena’s top, you will find the twenty-ninth Figure Box.

Side Mission 2 – The Lynx Strikes

Location #30: Firstly complete all the side quests, The Lynx Strikes, and then jump into the water to find the thirteenth Figure Box.

Chapter 7 Figure Box Locations

Location #31: At the beginning of Chapter 7, reach the bridge opposite to get to the thirty-first Figure Box.

Location #32: After you complete Verse #7, explore the nearby areas to find the thirty-second Figure Box.

Location #33: The next step after completing Verse #7 is to find and balance the pillars so that the hidden room opens. Doing so will allow you to get the thirty-third Figure Box.

Chapter 8 Figure Box Locations

Location #34: After you finish the third Verse, you will see a moving platform. At the end of this platform, you will find the thirty-fourth Figure. The Ignis Araneae Yo-Yo will help you with this task.

Location #35: Climb the Windmill towers by transforming into spider form to reach the top of the second building. Doing so will reveal your thirty-fifth Figure Box.

Location #36: Exploring Windmill towers will help you find the bridge as its underneath area has a thirty-sixth Figure Box.

Location #37: You will need to ask Bayonetta and Ball for help so that you may enter the hidden room at the temple top. Once inside, you will find the thirty-seventh Figure Box.

Chapter 9 Figure Box Locations

Location #38: At the starting point of Chapter 9, you will find the thirty-eight Figure Box.

Location #39: Complete Verse #2 So you reach the temple and find the thirty-ninth Figure Box.

Location #40: You need to finish Verse $5 so that you can unlock the room with your forty Figure Box. The locked room is located behind the Sarcophagus Room.

Location #41: Complete Verse #8 and go inside the next room, where you will find the forty-one Figure Box.

Chapter 10 Figure Box Locations

Location #42: Reach the moving platform end to access the forty-two Figure Box.

Chapter 11 Figure Box Locations

Location #43: Your final and forty-third Figure Box is located at starting point of Verse #1.

That completes the list of Figure Box Locations but if you need more help, here is some more Bayonetta 3 content that you might like:

Categories
Bayonetta 3

Bayonetta 3 Pannus Boss Fight Guide

The Pannus is the jellyfish boss you’ll fight at the end of Bayonetta 3, Chapter 1. It’s not your average opponent, equipped with special search moves and attacks, in a nutshell, this battle could be challenging, but if you follow this guide, taking down this Pannus will be easy peasy.

Pannus Boss Fight

Pannus employs the following attacks during battle:

  • Explode
  • Lay Mines
  • Charge
  • Spin Attack

Explode Attack: During the small size form, the Pannus will explode. Avoid being hit by the explosion, or use your mobility to dodge it.

Lay Mines Attack: When the Pannus reaches its full size, it’s time to lay some mines. In other words, the Pannus will fly around the battlefield and place explosive mines all over. The best way to avoid this attack is to stay far away from the mines.

ChargeAttack: The Pannus will attempt to attack Bayonetta with a charge in this attack. Since all charge attacks follow the path of least resistance, you can dodge them out of the way. You can use Witch Time as a countermove against them if timed correctly.

Attack Spin Attack: If you stay too close to Pannus for a prolonged period, it will unleash a quick spin attack that can take you down. The best thing to do is jump and dodge.

How to Beat Pannus

Witch Time Attack and speed are your two best weapons against Pannus. Witch Time will let you hit Pannus while it’s in the air, inflicting much damage. Another thing to keep in mind is that when fighting jellyfish, speed is really the only thing giving you an advantage over your opponent. Try to avoid obstacles like G-Pillar, which will slow you down–instead, use My World to your benefit.

The Pannus can split themselves into smaller forms, which is why you see three Pannus at the beginning of the fight. If they manage to split again, there could be up to eight total by the end. Be sure to kill each jellyfish carefully.

Note: The Demon Slaves are not effective against the Pannus at close range. Even if you want the Demon Slaves to exist still, use any of the default Bayonetta 3 weapons.

Need more help? Here are some more Bayonetta 3 guides you may find helpful:

Categories
Bayonetta 3

Bayonetta 3 Bewitchments Guide

As we all know, Bayonetta is one of the most stylish characters in gaming. Her over-the-top personality and outlandish fashion sense perfectly match her powerful combat skills. But did you know there’s more to Bayonetta than just looking good and kicking butt?

In Bayonetta 3, our titular heroine has access to various witchy accomplishments called ‘Bewitchments.’ The Bewitchments can be unlocked when you clear a chapter. This guide will look at all Bewitchments available in Bayonetta 3.

Bayonetta 3 Bewitchments Locations

Bewitchment: Prologue (A Chaotic Encounter)

To earn your first Bewitchment, you’ll need to finish the Prologue. Be strategic during the deck battle and avoid Kraken’s ink clouds and areas of erasure. Use Gomorrah’s Gripping Bite on Cumulonimbus, and then use Gomorrah 5x to damage Kraken’s tentacle.

Bewitchment: Chapter 1 (Scrambling For Answers)

While riding Gomorrah and holding the hamburger, you can clear away three barriers of your choice. After you enter the Shibuya landmark, walk to the train and look for 5 Stratus. Defeat them, and then take down Pannus before it separates.

Bewitchment: Chapter 2 (City on Fire)

Use a monitor to watch MC Enzo’s show, and then switch your form into Infernal demon mode to frighten the cats. To prevent Asperatus from moving, you must use three times as many Webs while riding a Phantasmaraneae.

Bewitchment: Chapter 3 (A Sinking Feeling)

To progress, remove the Halos from the big lantern. However, to keep yourself safe, you need to dodge upcoming trains. Use 3x SinGomorrah’s flames to strike Arch-Iridescent and split Iridescent Core.

Bewitchment: Chapter 4 (Worlds Apart)

The only way to make it through the lava to the Lotus Field in Ginnungagap is by using Phantasmaraneae Masquerade. Without it, you’ll get stuck. So instead, use Congestus’ split Virga and switch into Infernal Demon form to strike Mediocris three times.

Bewitchment: Chapter 5 (Hot Pursuit)

Reach the building tops; otherwise, the fire will burn you. After you defeat an enemy using only your fists, quickly scale the ladder before Luka gets there. At the top, break open the Volutus.

Bewitchment: Chapter 6 (Off the Rails)

Before you reach the broken path, you need to hold yourself over the lava wheel for at least 5 seconds. Don’t let debris consume you; make sure to bounce off Arch-Pyrocumulous 3 times. The only way to dispel Pyrocumulous is by using Phantasmaraneae.

Bewitchment: Chapter 7 (Burning Sands)

You will need to touch the mirage of Cheshire at least three times to find the treasure in the desert. Then, after looking into Enzo Mural for three seconds, Go to the quicksand river and defeat the Uncinus’. Then, again repeat the taking down step two more times.

Bewitchment: Chapter 8 (A Croaking Chorus)

The objective is to reach the windmill tower, climb it, and find the temple. After entering, take down five Baal statues and reach the hidden room where Castellanus’s core is attached. Then, use Baal’s poison rain to take down Murus.

Bewitchment Chapter 9 (Learning to Fly)

You will need to confront 20 Malphas demons, but take care not to get hurt. Keep yourself safe while clearing the erasure clouds. Before starting the battle, first, finish sand sliding. During the battle on top of Pacts tower, you must perform at least 5x hits.

Bewitchment: Chapter 10 (Cover of Night)

You’ll need to step on 10x stained glass shards to reach the stone tower and find the Thule. Once you’re at the Ginnungagap, be careful of Strider while making your way to take down mall Golems.

Bewitchment: Chapter 11 (A Familiar Dance)

To find the hidden item in the underground tunnel, you must first reach Mictlantecuhtli, where you will defeat Rosa. After that, take care of 50x Lacunosus.

Bewitchment: Chapter 12 (The Edge of Madness)

Clear all the 5x buses, and then take down Bayonetta using Umbran Clock Tower. Be patient until Baal Zebul is done. Afterward, go to the tunnel on the ground floor, where you must fight all remaining enemies. While riding Gomorrah, shoot down any helicopters in sight.

Bewitchment: Chapter 13 (Kingdom of One)

As you explore Ginnungagap, 25 lotuses will gather. As a result, Madama Butterly can use Perfect Witch Time 5x. Be careful of Dark Adam’s attacks and use Madama Butterfly’s Flutter Kiss to take down Aureole. Destroy all enemies in your way as you reach the collapsing Ginnungagap.

Bewitchment: Chapter 14 (A Single Truth)

Use Crow within your Bayo 1 attack on the 5x Singularity Definition. Then, safely end the Singularity Chaos fight. Now it’s to watch the end of Bayonetta. Lastly, to earn the last Bewitchment, you need to defeat Homunculus.

That’s everything you need to know, but here are some more Bayonetta 3 guides you may find helpful:

Categories
Bayonetta 3

How to Get Bayonetta 1 and Bayonetta 2 Costumes in Bayonetta 3

Players love feeling nostalgic and seeing their favorite characters in a new light. They also enjoy how the characters look in different costumes. Therefore, people love these particular costumes at the moment. In this guide, I’ll tell you how to get Bayonetta 1 and Bayonetta 2 Costumes in Bayonetta 3.

Two Ways to Unlock Bayonetta 1 and 2 Costumes in Bayonetta 3

  • Purchasing From Gates of Hell
  • Beat the Game To Unlock Gates of Hell

Purchasing From Gates of Hell

For those who played Bayonetta 1, save your data on your device and unlock the Gates of Hell in the game; you can buy a Super Mirror costume. Once you are done buying it, Bayonetta’s costume and hairstyle will automatically unlock in the first game.

If you’re a Bayonetta 2 player, save your game data to your device, then buy Super Mirror 2. Doing so will unlock Bayonetta’s costume and hairstyle from the second game. No matter what part of Bayonetta you have played before, purchasing from Gates of Hell and saving the game lets you transfer the Costumes in Bayonetta 3.

Beat the Game To Unlock Gates of Hell

If you’re worried about losing progress or not knowing how to save your game, don’t be. There is another way to transfer costumes. By simply choosing the difficulty of your choice and beating the game, the costume will appear in Rodin’s Treasures.

That’s everything you need to know, but here are some more Bayonetta 3 guides you may find helpful: